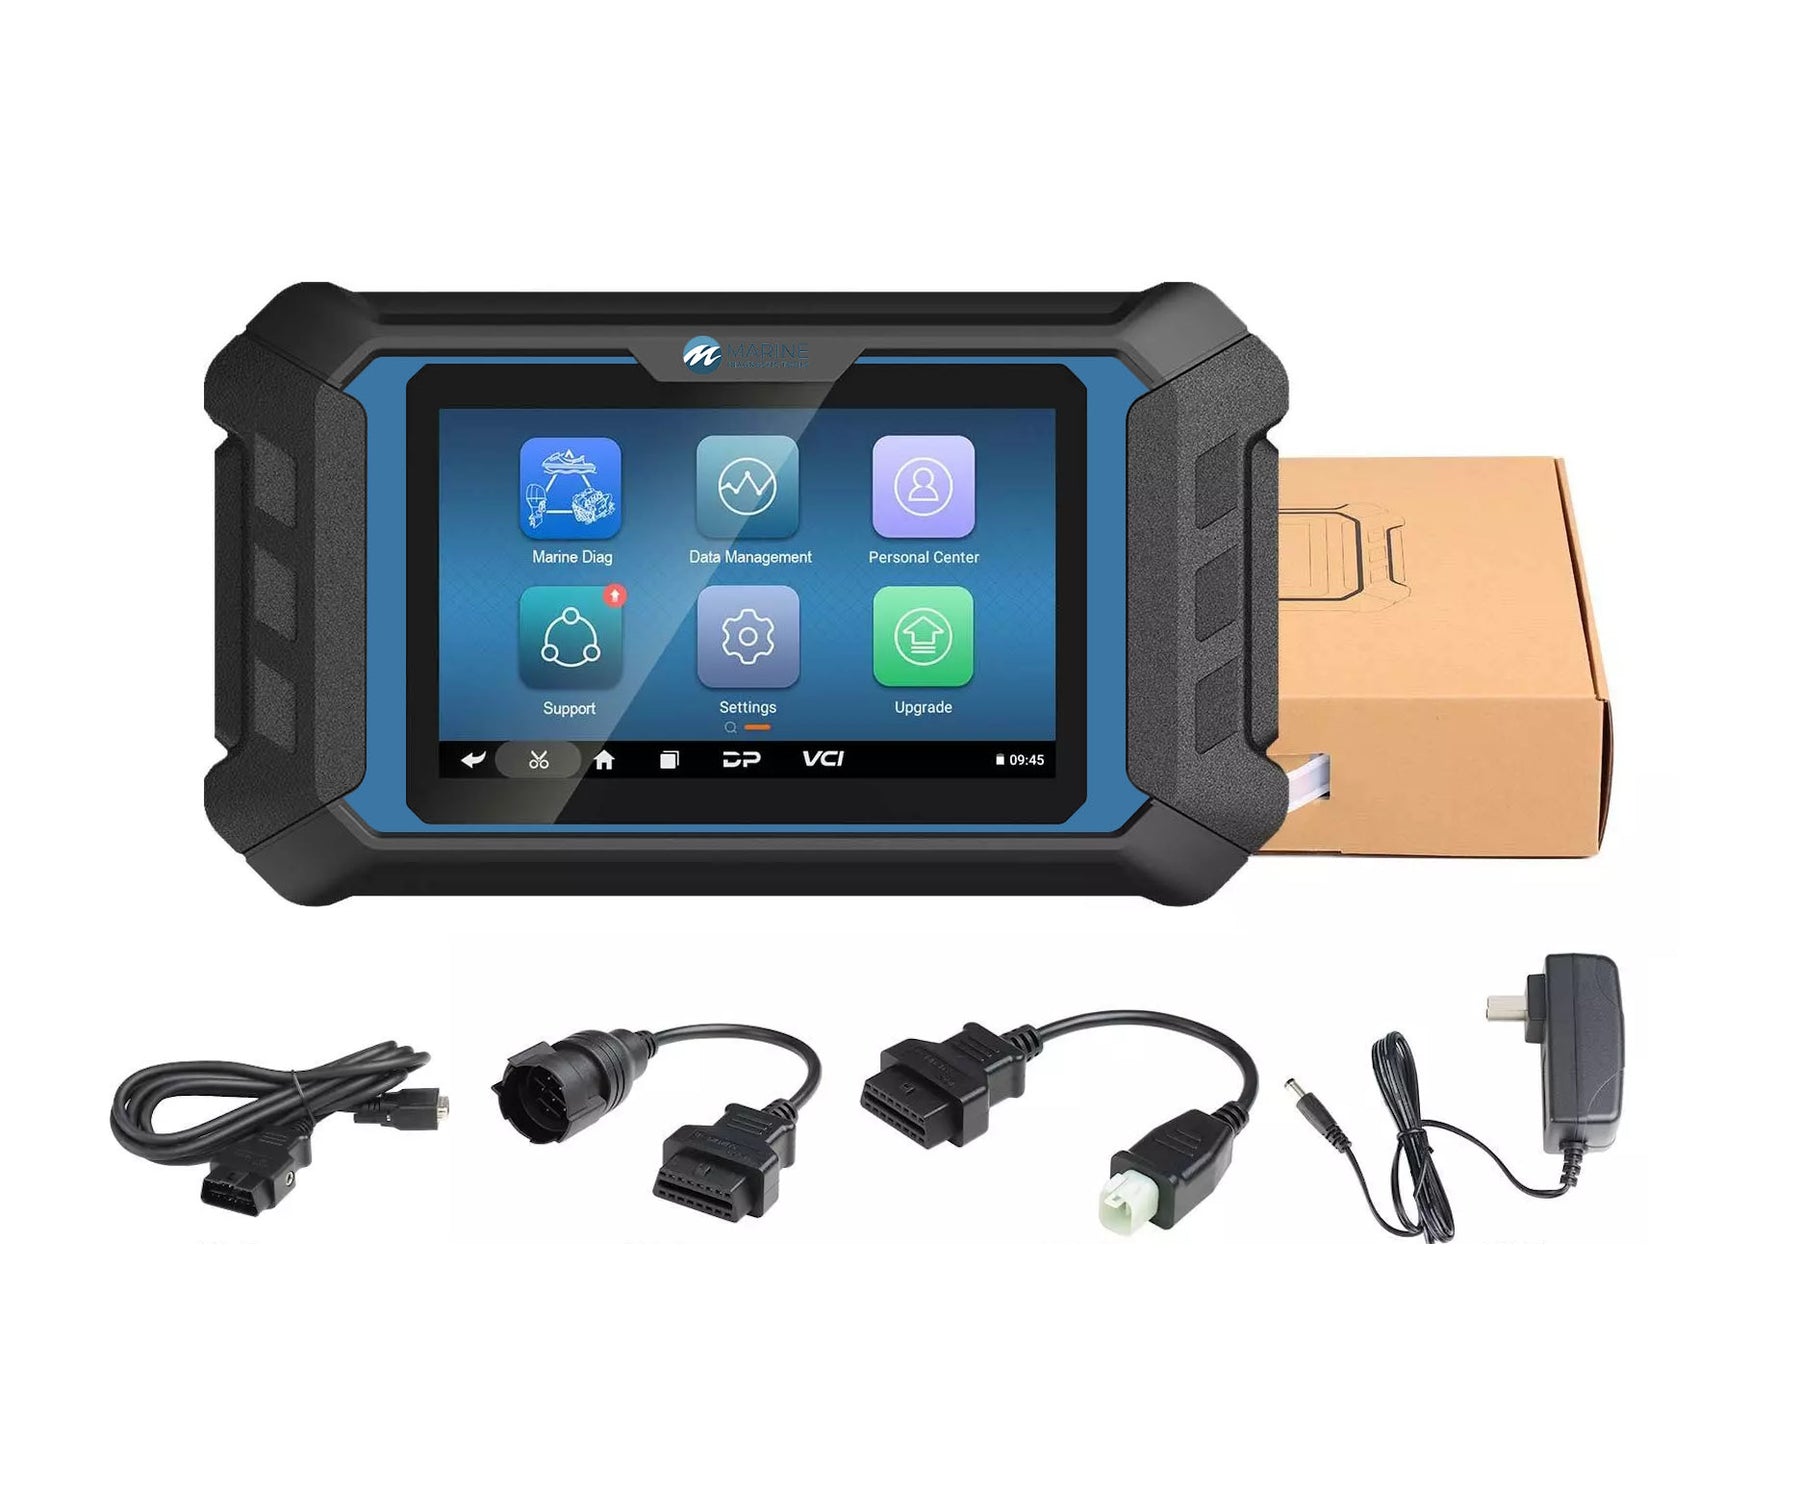
Mini Scan Tool Setup & Registration Guide
Mini Scan Tool Setup
Mini Scan Tool Setup Guide
1. Power On and Accept Disclaimer
Hold the power button for a few seconds. The Disclaimer page will appear. Use your finger or a stylus to scroll the orange bar to the bottom and select Accept.

2. Connect to Wi-Fi
- Go to Settings > System Settings.
- Select Wi-Fi and enter the password for your network.


3. Register Your Tool
Once connected to the internet:
- Go to Personal Center and select Register.
- Create a username and password (be sure to remember them!).
- Log in with your new credentials.

4. Download and Install Software
Select the Green Upgrade box to download the software. Once complete:
- Select Install at the bottom right.
- Click the orange down arrow to start installation.
After installation, a new module will appear on the main screen for diagnostics. You're ready to connect to engines!


After installation you will see a new module called "Marine Diag". This is what you will use to connect to marine vessels and engines.


Leave a comment